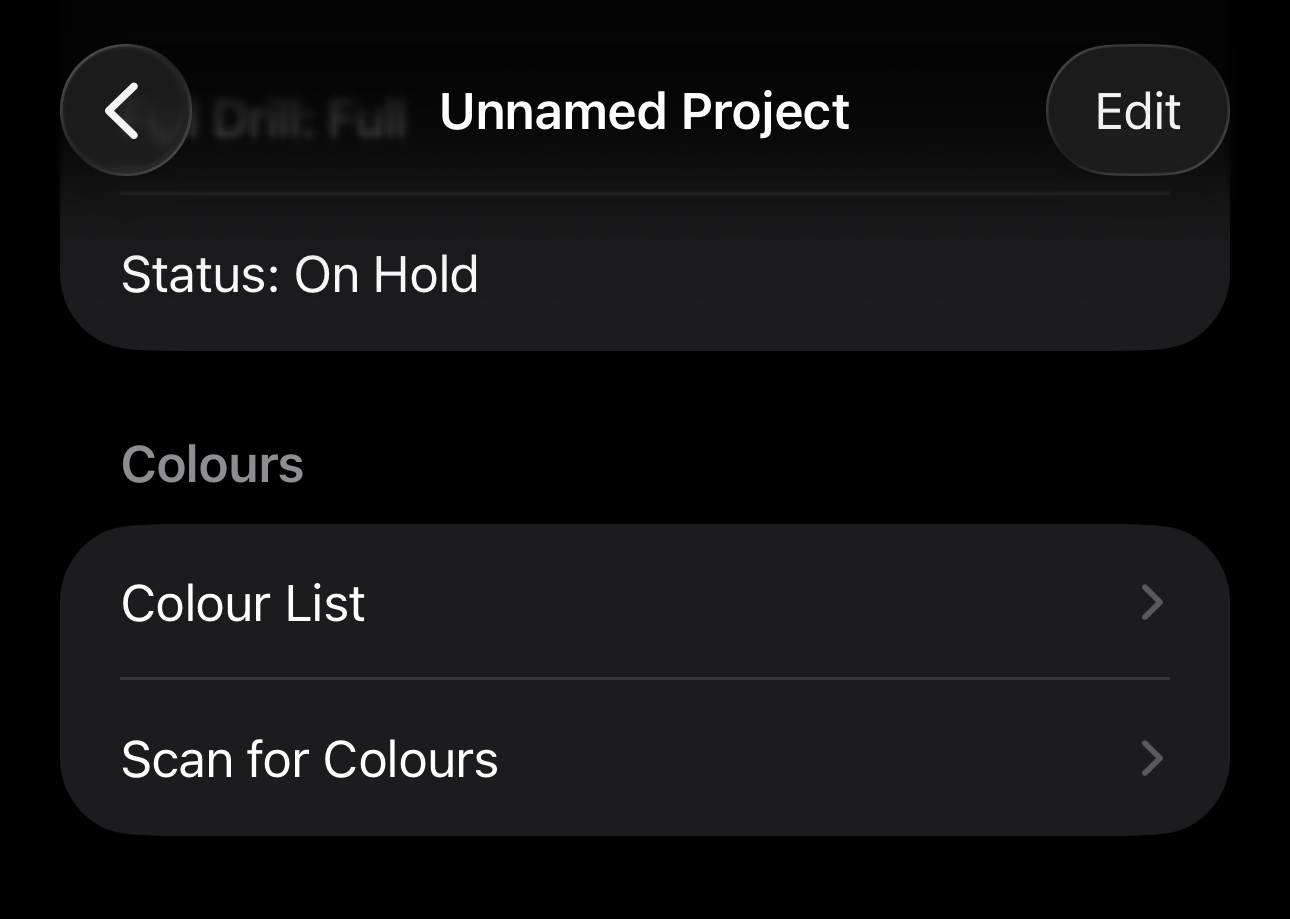
- From the project details, select the scan for colours from the Colours section
- Select the Select Image button
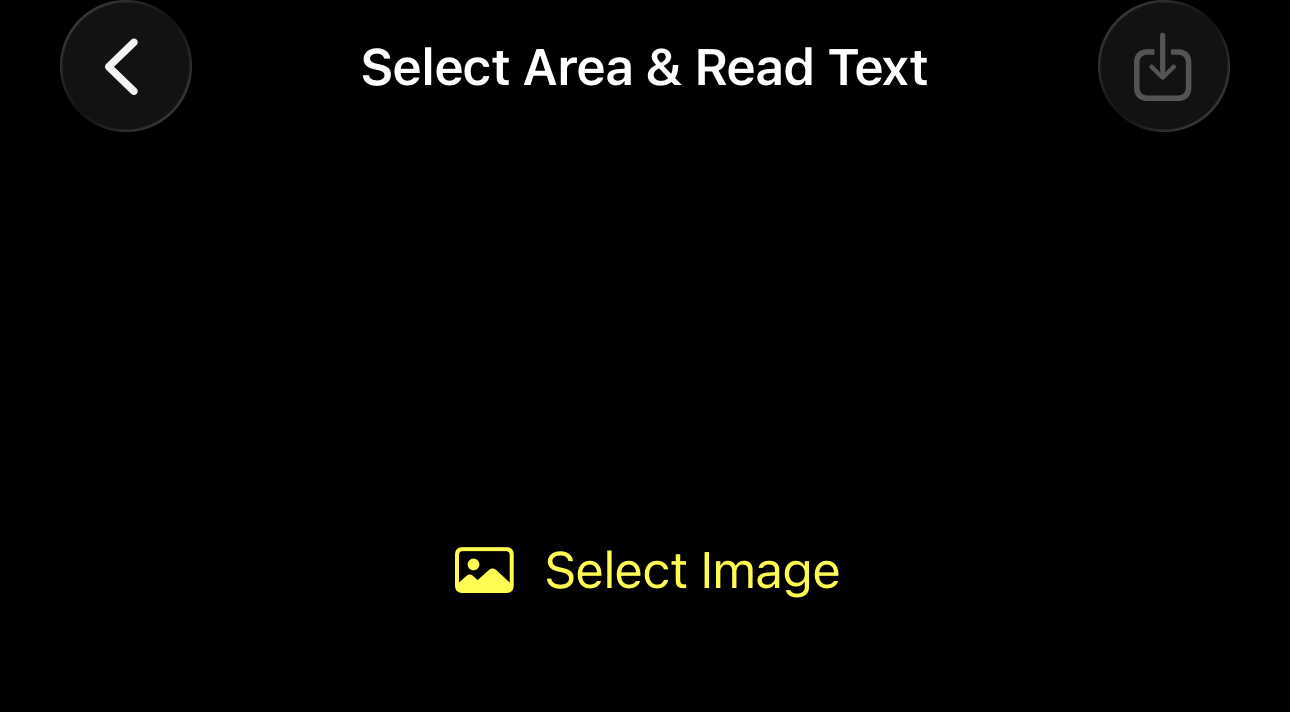
- This will load the photo library, select the image that has the key
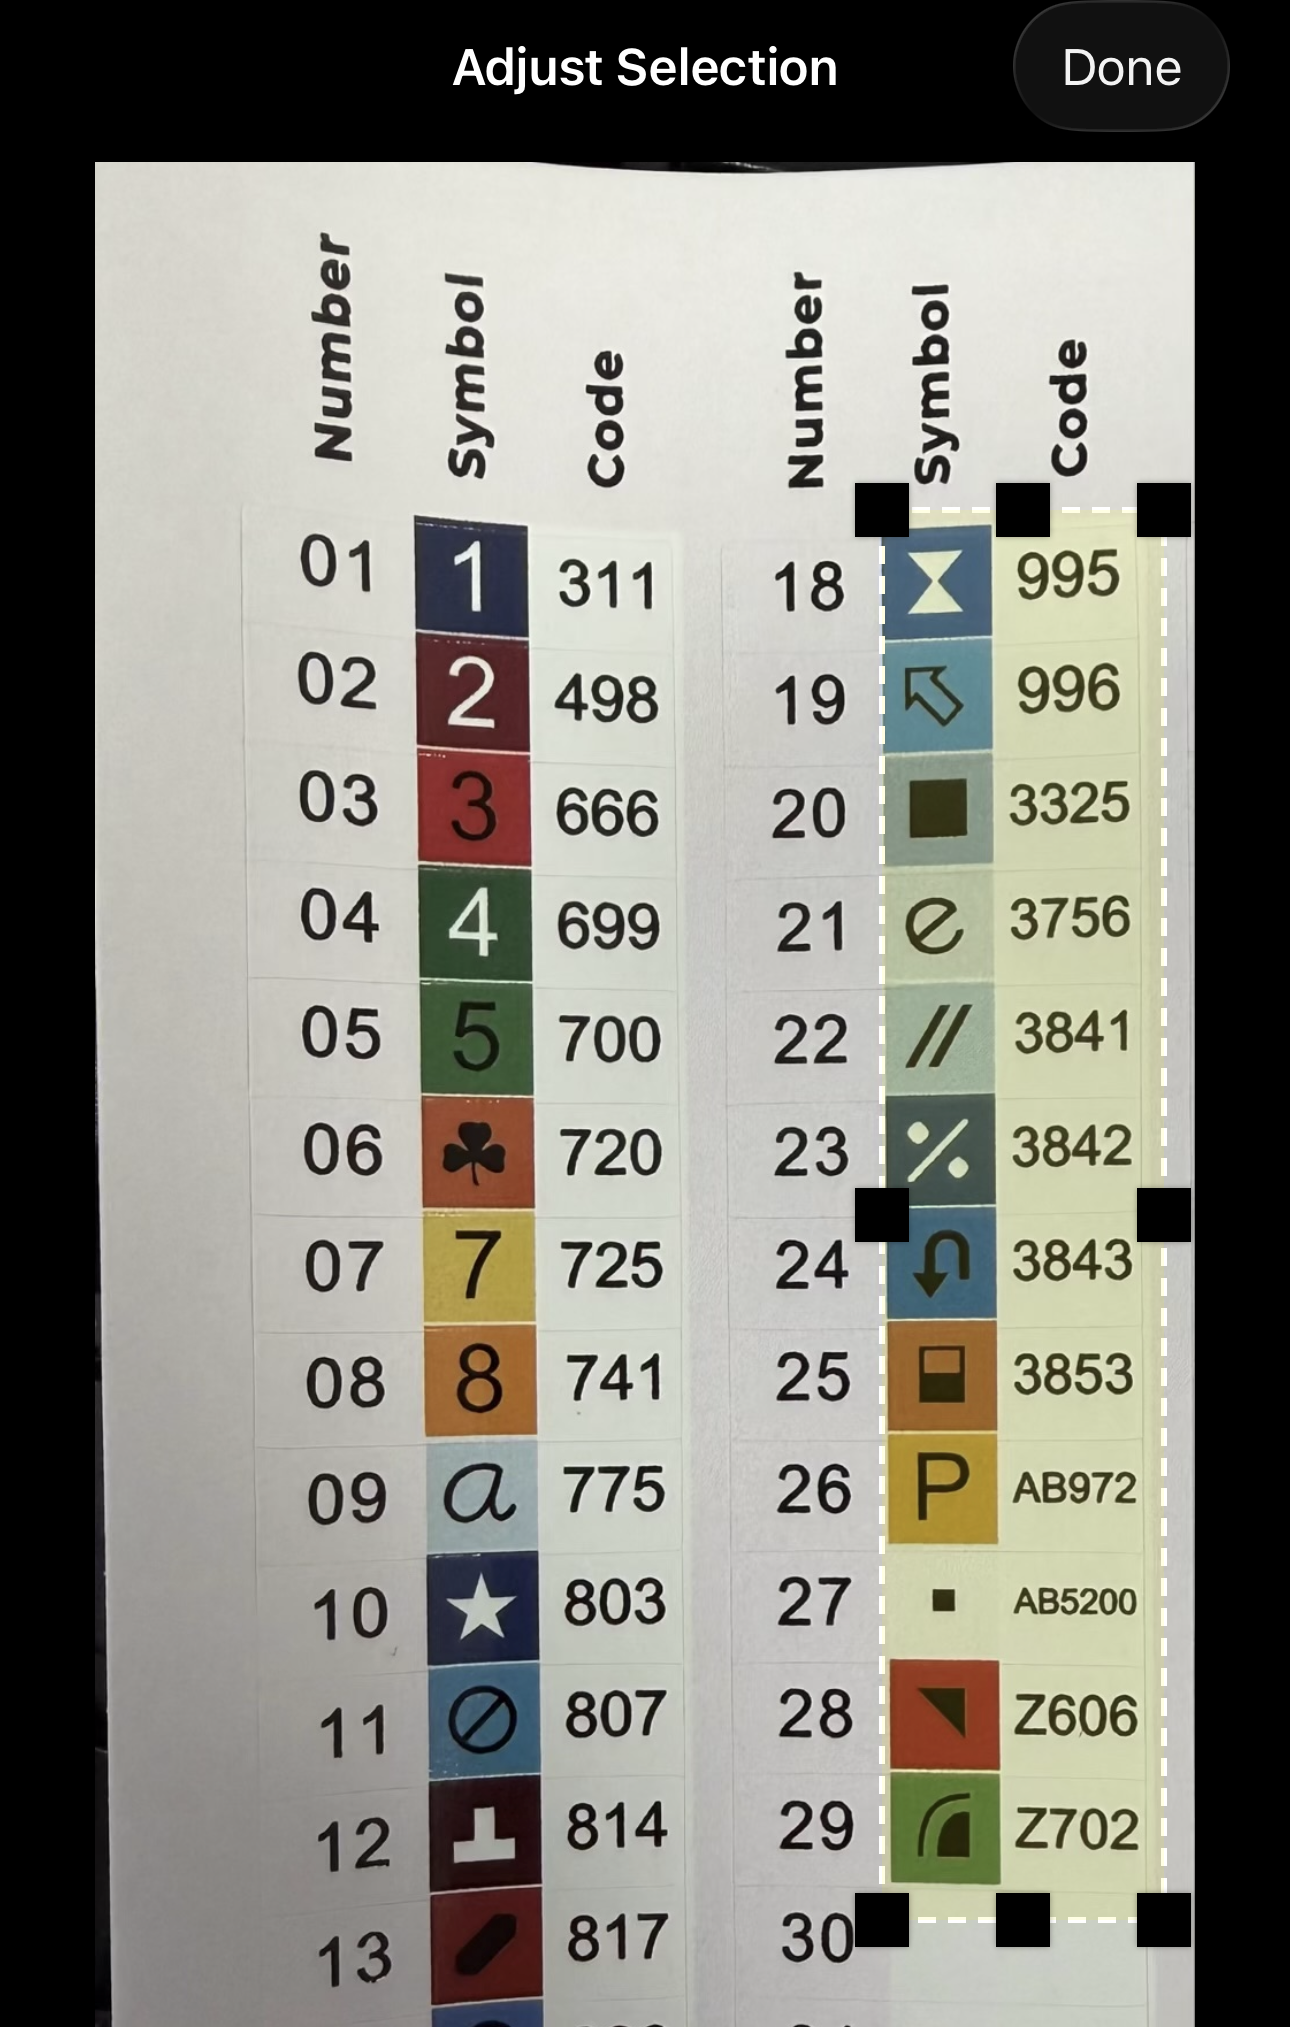
- From the full screen image, select the area you'd like to read
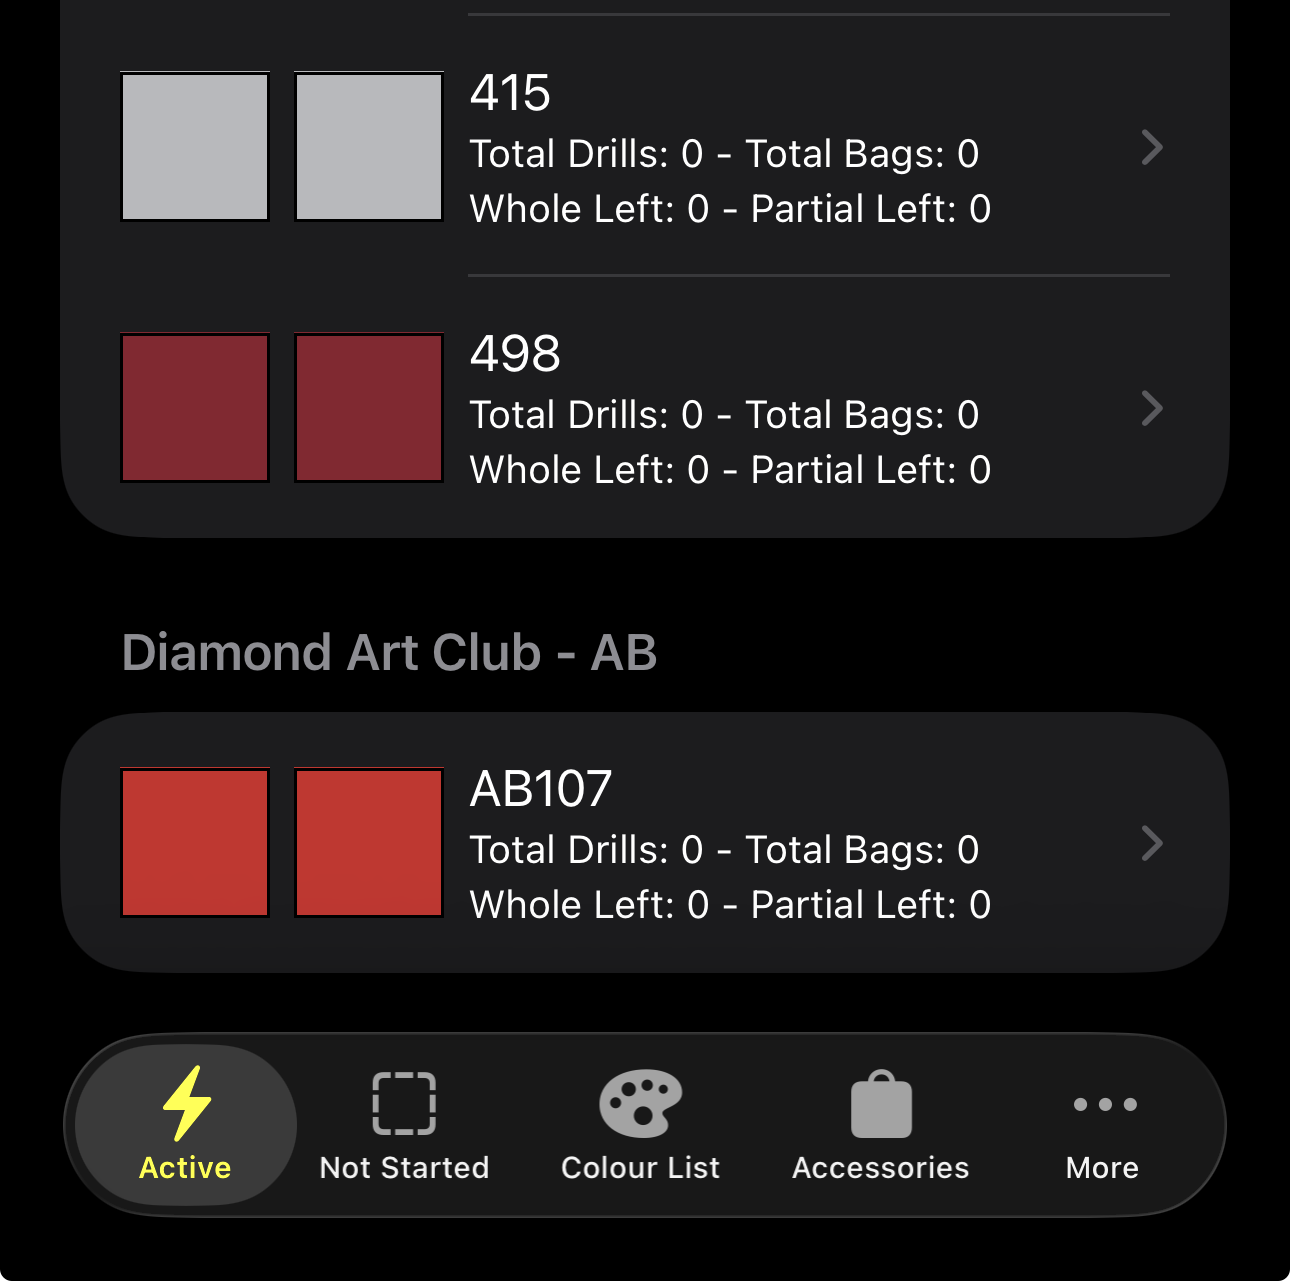
- It'll show you what colours its matched against
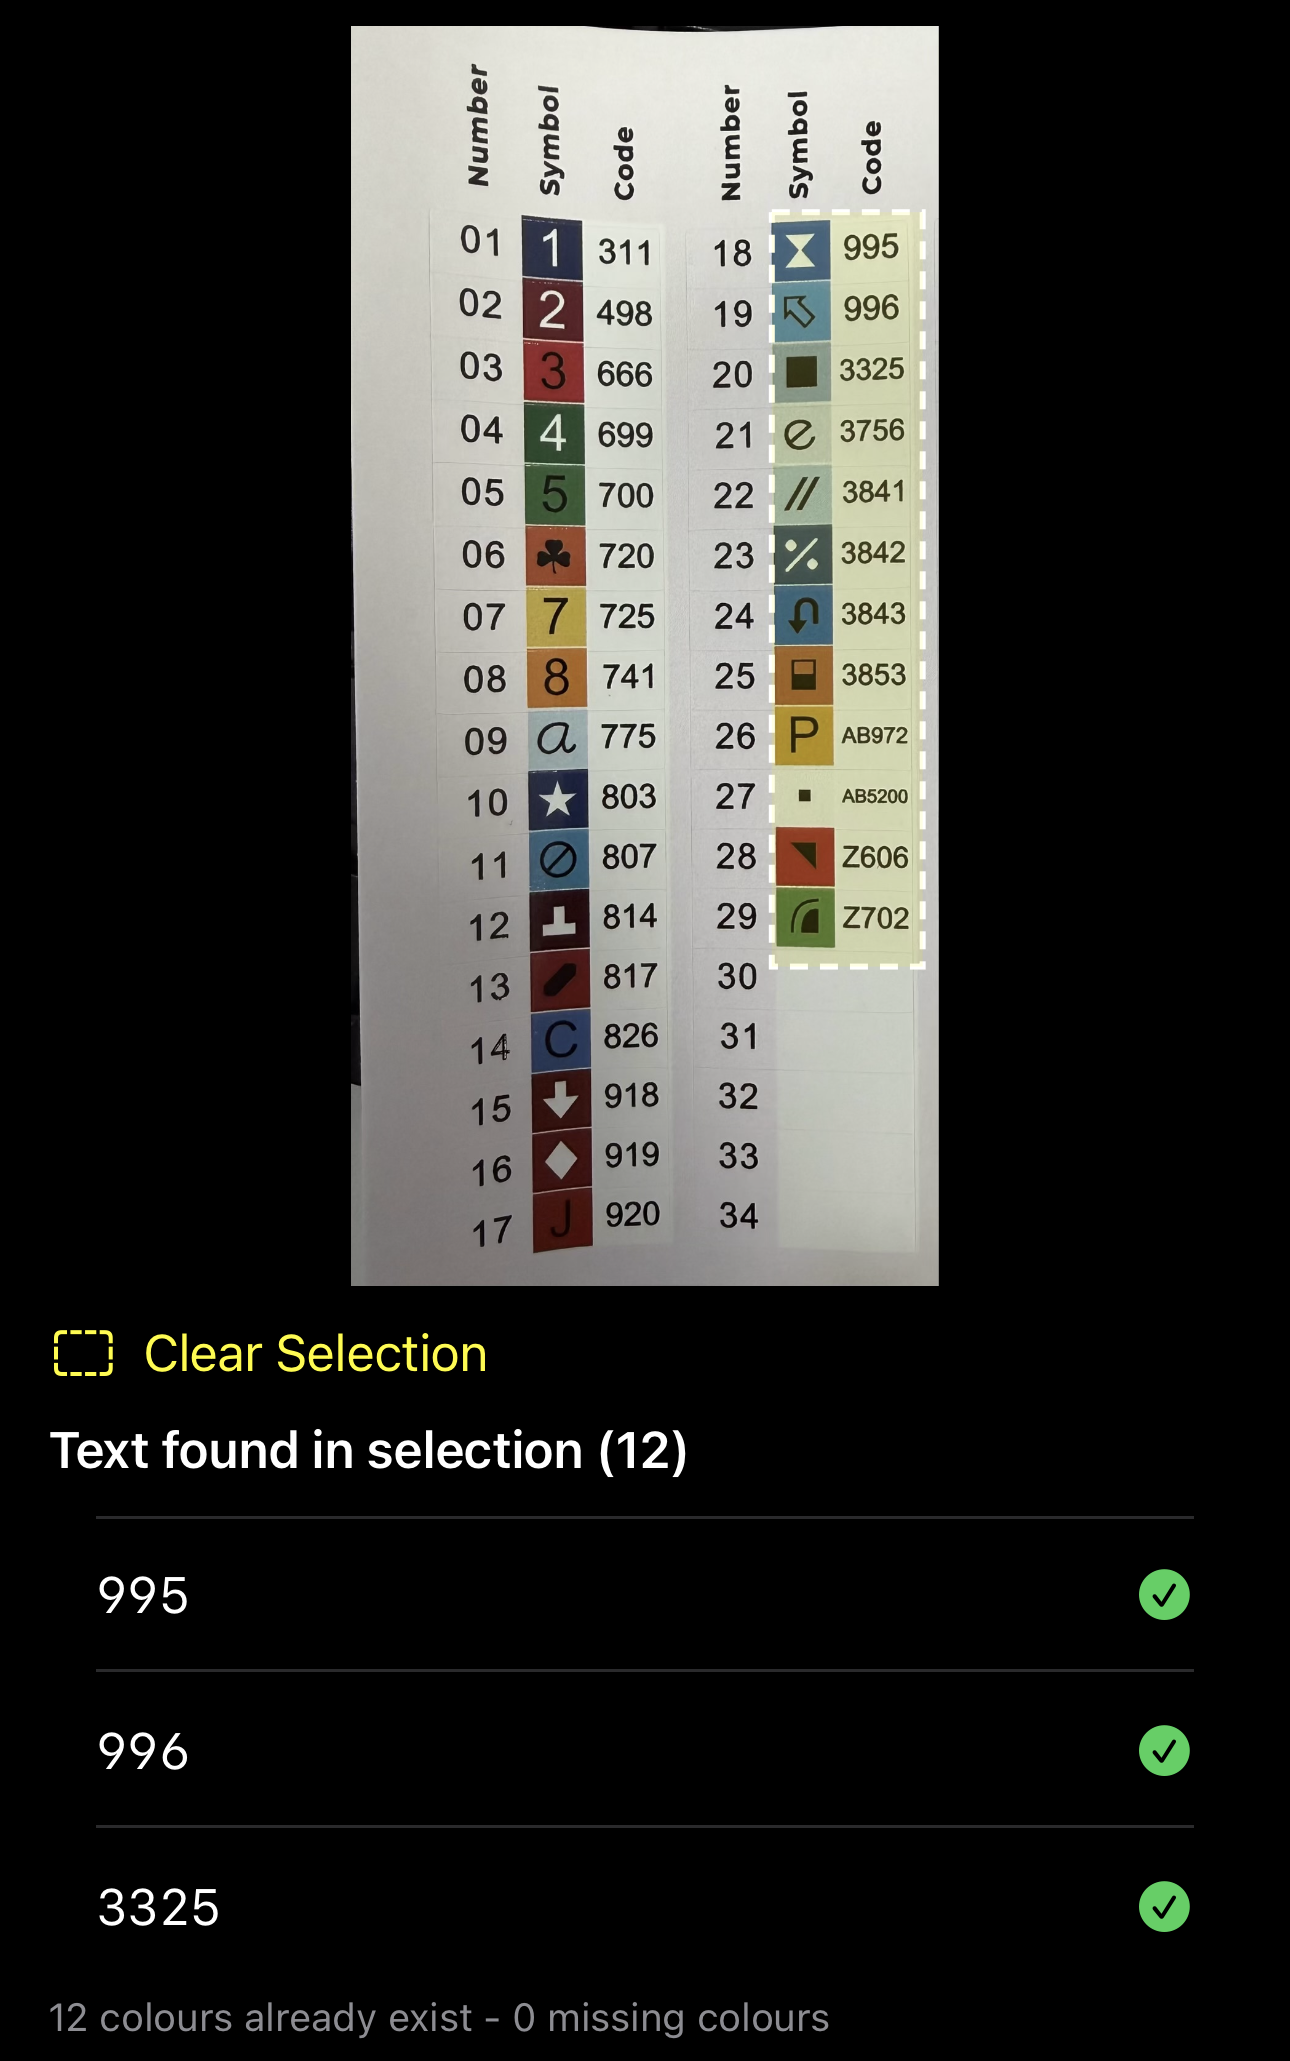
- From this screen you can also tap the image again to adjust the selected area
- You can select the select image button again to change the image
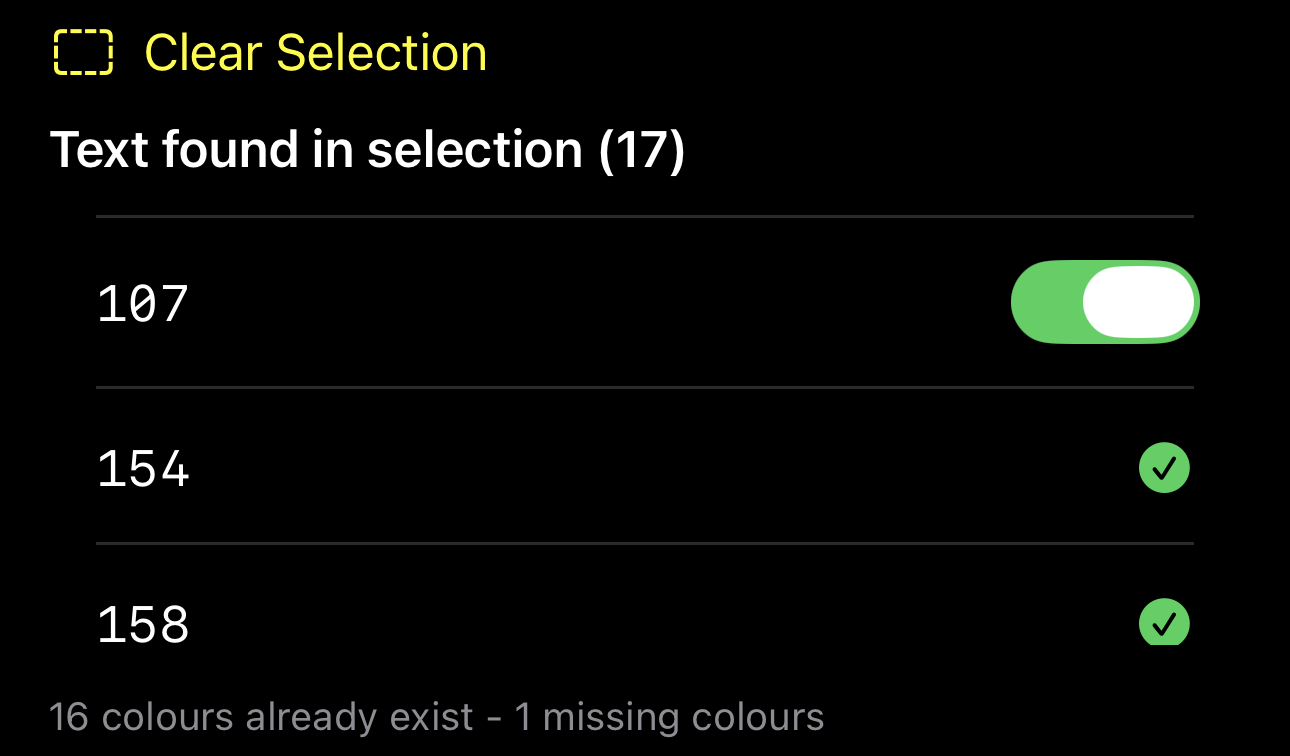
- If it picks up a colour thats not already in the system, it presents the option to add it
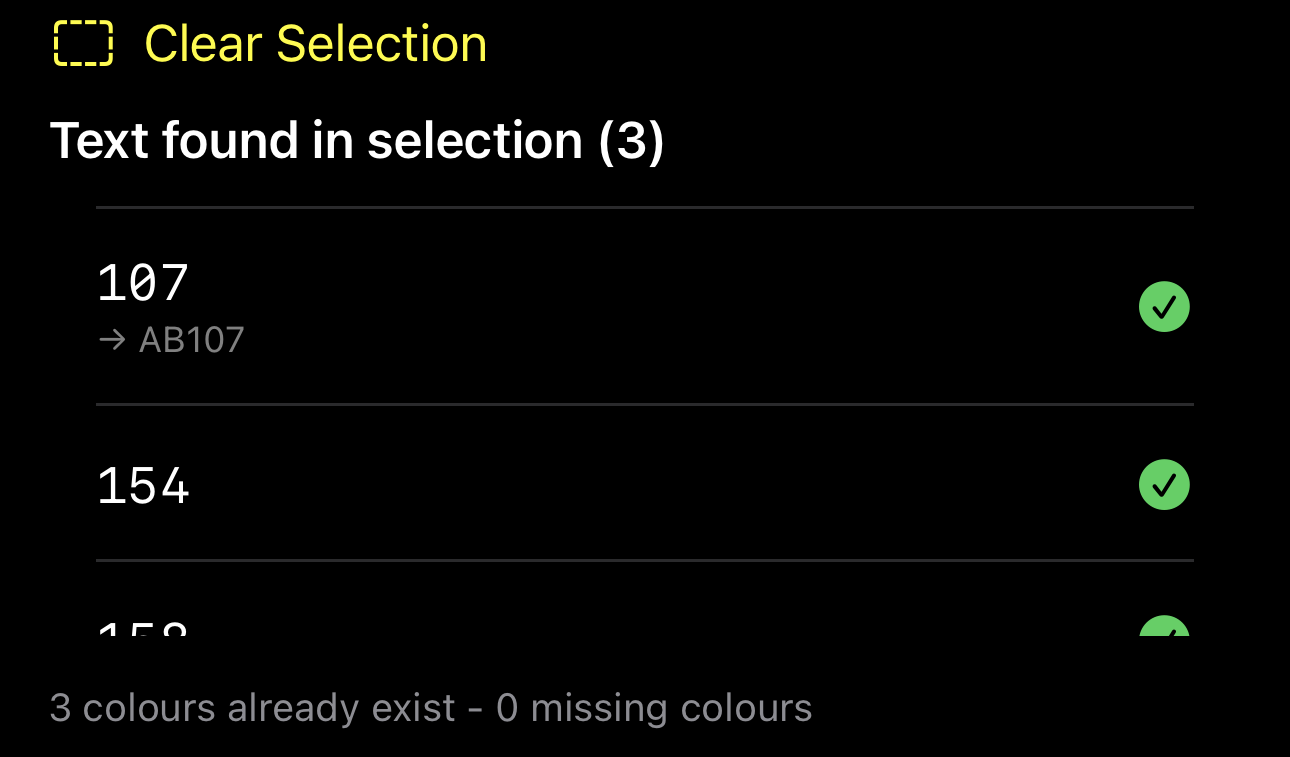
- If it picks up an old DAC colour (100-148) then it auto adjusts as they're stored as ABXXX in the database
- Select the button to save the colours to the project

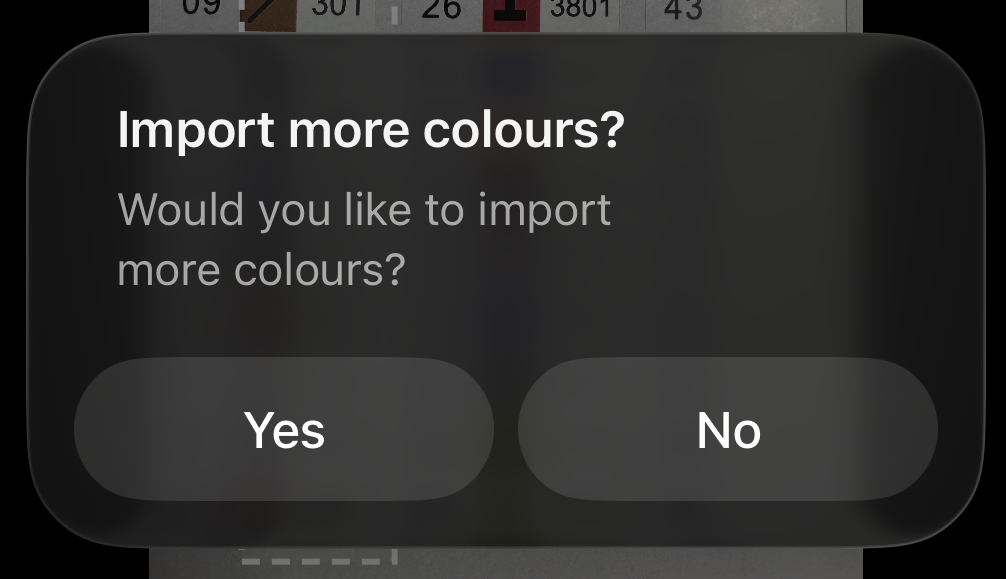
- It will then prompt if you want to import more colours
- The colours can then be seen in the colour list for the project